Is it possible to build a private, secure communication network, free from the prying eyes of the internet, using a device as small as a credit card? Yes, it is, and the Raspberry Pi is your key to unlocking this capability.
The allure of decentralized systems is undeniable. In an era defined by increasing concerns over data privacy and the desire for greater control, the concept of a peer-to-peer (p2p) network, built on a Raspberry Pi, offers a compelling alternative to traditional internet-dependent communication. This small, affordable computer has become a darling of developers and hobbyists alike, its versatility and accessible price point opening up a world of possibilities. Setting up a p2p network on a Raspberry Pi is more than just a technical exercise; it's a pathway to understanding the fundamentals of networking, security, and distributed systems. It grants you the power to create a secure, bandwidth-unrestricted environment, all within the confines of your own devices.
This project, in its essence, offers a hands-on exploration of network configuration, security protocols, and the practical implications of decentralization. The absence of reliance on an external server is a critical point, and the design of such a system means no bandwidth limitations, no complicated firewall configurations and no concerns about data breaches. Moreover, this approach offers a learning experience that empowers individuals with the skills necessary to understand and control their digital environment. With a Raspberry Pi, you are able to sidestep the inherent vulnerabilities of centralized systems.
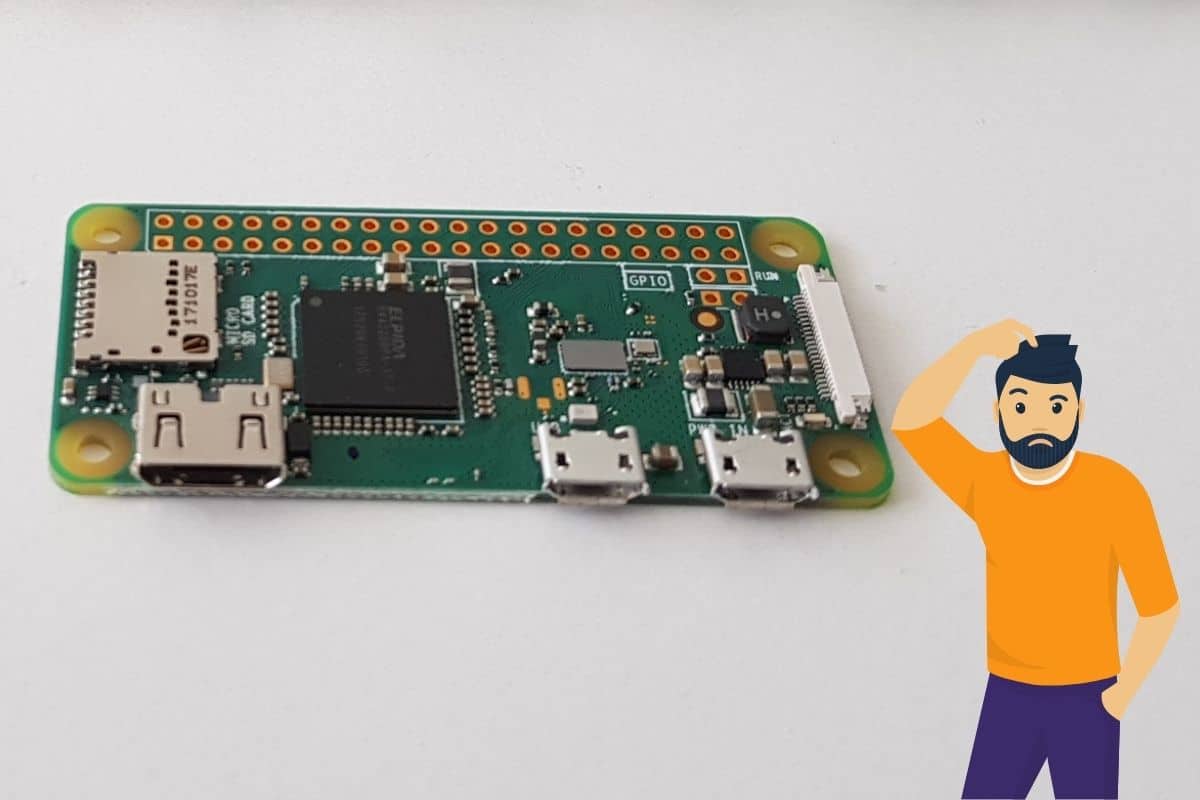
Before diving into the intricacies of the setup, it's crucial to acknowledge the essential components. This project starts with the selection of a Raspberry Pi model, with the latest iterations offering more processing power and memory. A microSD card, serving as the storage for the operating system, is also a must-have, with a minimum capacity sufficient to accommodate the OS image and any additional software. The correct formatting of the SD card to FAT32 is a pivotal step, as the Raspberry Pi has limitations when it comes to file systems. While larger SD cards can be used, the Raspberry Pi must be formatted with FAT32. Next, a power supply that meets the Raspberry Pi's voltage and current requirements is vital for reliable operation. Finally, while a monitor, keyboard, and mouse are needed during the initial setup, once configured, the Raspberry Pi can be operated remotely via SSH or a remote desktop application.
The installation of the operating system is the first practical step. The Raspberry Pi Foundation provides a range of OS images, including the popular Raspberry Pi OS (formerly Raspbian). The operating system is installed on the SD card using a dedicated tool, such as Raspberry Pi Imager. Once the OS is installed, the SD card is inserted into the Raspberry Pi, and the device is powered on. This initiates the boot process, during which the Raspberry Pi loads the OS from the SD card. Post-installation, initial configuration includes setting up a network connection. This can be done via Wi-Fi or Ethernet, depending on your preferences and available hardware. The configuration involves setting up the network settings, including the IP address, subnet mask, gateway, and DNS servers.
When setting up a p2p network, understanding the role of a group owner (GO) is essential. The GO is the device that manages the network and acts as a DHCP server, assigning IP addresses to the other devices. In this scenario, one Raspberry Pi will be designated as the GO, and the other devices will connect to it as clients. In many configurations, the GO assigns IP addresses to the connected devices, thereby centralizing the network management.
To create a secure environment that doesn't require the internet, setting up a p2p network on a Raspberry Pi is an excellent idea. The p2p network allows for a decentralized communication system that lets files be shared between devices without relying on external networks. With this approach, you can bypass the bandwidth limits, firewalls, and prying eyes associated with traditional network structures. One of the critical parts of building this network is ensuring that a device is always the group owner (GO). Using the option p2p_go_intent=[0..15] ensures that the GO can be set. In this setup, a value of 0 means the Raspberry Pi becomes a client, while 15 means the Raspberry Pi becomes a group owner. A value of 7 provides a 50% chance of becoming the GO.
For those seeking remote access, solutions like remote.it offer a compelling way to connect to your Raspberry Pi without needing to forward ports. The advantage of this approach is that it provides secure access to your Pi from anywhere, making it easier to manage and control remotely. It's an important consideration, particularly if you frequently connect to your Pi via SSH or a remote desktop application.
Implementing a home network intrusion detection system (NIDS) is a very important approach. This involves the installation of tools, such as the Libncurses5 package, which installs vital networking and security updates and ensures the network's integrity.
Setting up a p2p network on a Raspberry Pi is a journey, not a destination. The core concepts involve understanding network configuration, security protocols, and the value of decentralization. It's about more than just following instructions; it's about learning, experimenting, and building a deeper understanding of the digital world.
Building a Raspberry Pi P2P network requires setting up the operating system and configuring the network settings, offering a practical application of these skills. If you're just starting, this guide will provide the necessary steps to navigate the complexities of p2p networking and provide you with expert advice. Here are some of the important steps you can follow:
- Choose Your Hardware: Select a Raspberry Pi model (Pi 3, Pi 4, or later) and a microSD card for the operating system.
- Install the OS: Use Raspberry Pi Imager to flash the OS onto the microSD card.
- Network Setup: Configure Wi-Fi or Ethernet settings.
- P2P Configuration: Configure the Raspberry Pi as the group owner or a client.
- Security Measures: Implement security measures to protect your network.
- Test and Troubleshoot: Verify the setup and address any issues.
By implementing these steps, you'll create a secure, decentralized network that bypasses the bandwidth limitations and security vulnerabilities of centralized systems. This project encourages hands-on exploration of the Raspberry Pi's potential and a deeper understanding of network architecture.
This system provides a powerful learning opportunity, allowing you to understand the nuances of network management and decentralized communication. It goes beyond the basics, offering a secure, private network that empowers you to control your data.